
There are multiple ways to carve a pumpkin, but you always start with the same steps, no matter how complicated the design. If you want to make a jack-o’-lantern, you will first need to remove the pumpkin’s insides. Gutting a pumpkin gets messy fast, so be sure to prepare your carving station well. After visiting the pumpkin patch or grocery store and finding the perfect pumpkin, follow these steps for turning it into a haunting masterpiece.
1. The Proper Equipment
The things you need are a serrated knife, scoop, and tea candles, or another preferred light source. You likely have all of these handy. For scooping out the insides, a big metal spoon or ice cream scoop should do the trick. You might also want a place to put your pumpkin’s insides, whether you are saving them to cook or trashing them. You can also compost them or let them degrade naturally on the ground.
2. The Right Location
Your best option is to do this outdoors. The mess you make will become part of the ecosystem. However, if you want to take this activity inside, use newspapers to contain the mess.
3. Cut a Hole in the Gourd
The standard method is to cut a hole in the top, so you can use the stem as a lid handle. However, you may find that cutting a hole in the bottom works best. This way, you can place the pumpkin on top of the candle for light.
4. Clean the Insides
You want to clear out all of the pumpkin meat and seeds. Store them for cooking or throw them away.
5. Thin the Walls
Use a scraping tool to make the walls thinner so it is easier to carve and more light shines through.
6. Prep Your Image
Either print out a pumpkin template or draw one on paper. Tape this to the pumpkin.
7. Trace the Image
Before you carve, go over the image with a needle while it is taped to the pumpkin. Make a hole every few centimeters. These will guide you as you carve. Once this step is done, you can remove the paper.
8. Start Carving
Carve out the lines you traced next. Start with small details, like the nose or eyebrows, to make it easier.
9. Light it Up
Now, you should be done. Place the tea candle inside the pumpkin. You can also put it where you plan to plant the lantern if you cut the hole in the bottom.
You might also like: Improve Your Gas Mileage By Avoiding These Problems
10. Make Sure it Lasts
Ensure your jack-o’-lantern makes it through the fall by waiting until it gets cooler before carving. You can also use petroleum jelly or hairspray as a fixative, which might keep it from rotting.
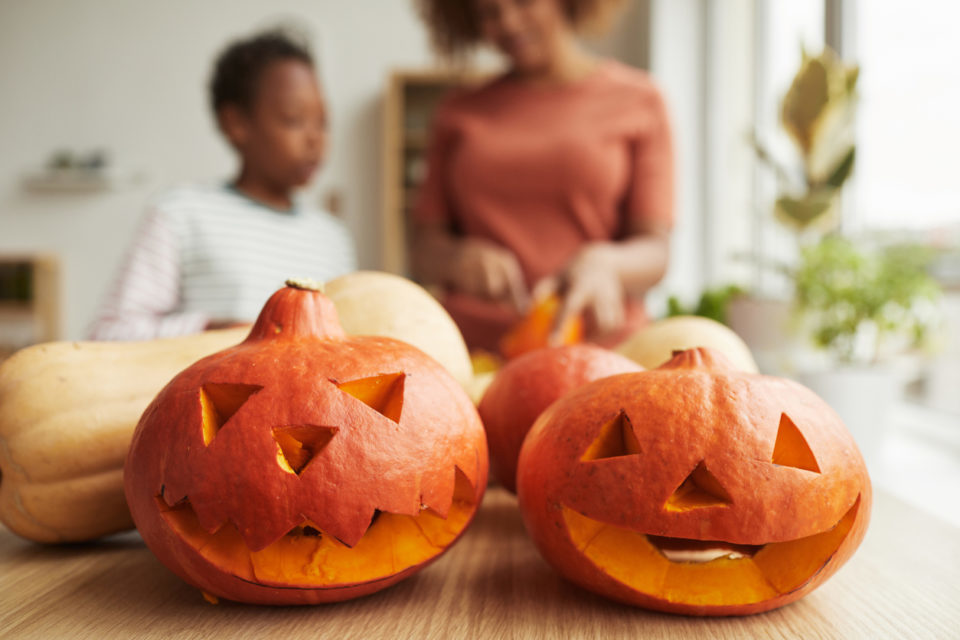
Disclaimer: The stock image is being used for illustrative purposes only, and it is not a direct representation of the business, recipe, or activity listed. Any person depicted in the stock image is a model.